
Blackjack basic strategy is the set of mathematically grounded hit/stand/double/split (and sometimes surrender) decisions that minimize the house edge for a given ruleset. The highest-impact mistakes usually come from misplaying stiff hard totals, soft doubling spots, and a few critical pair splits. Use a compact decision grid, then adjust only for table rules.
High-impact plays at a glance
- Hard 12-16 versus dealer 7-A: most players stand too often; follow strict hit/stand thresholds.
- Soft hands (A+something): double more in the right windows; don't "protect" soft totals that should be aggressive.
- Pair splits: splitting A,A and 8,8 is non-negotiable; "never split 10s" stays the default.
- Doubling is a value tool, not a bravado move: prioritize high-expected-value doubles over "feels good" doubles.
- Surrender (when offered) is a disciplined loss-cutting play, not a sign of weakness.
- Rule checks (decks, dealer hits/stands on soft 17, double-after-split, surrender) change a few edge-case plays-confirm before you sit.
Hard totals: precise hit/stand/double thresholds by dealer upcard
This section fits intermediate players who already know the flow of the game and want fewer "close calls" on hard totals (no Ace counted as 11). Skip strict thresholds only if you're not playing a standard game (e.g., unusual house rules, side-bet-driven play, or you're intentionally using a different risk profile); otherwise, deviations are usually expensive.
Compact hard-total rules you should not improvise
- Hard 16 vs 7-A: default is to hit (surrender changes this; see below).
- Hard 13-16 vs 2-6: default is to stand.
- Hard 12 vs 2-3: hit; hard 12 vs 4-6: stand.
- Hard 11: double versus most upcards (rule variants can affect vs Ace).
- Hard 10: double versus dealer 2-9; avoid doubling into 10/A.
- Hard 9: double versus dealer 3-6 (and sometimes 2 depending on rules/chart).
Two fast examples (hard totals)
- You have 16 (10+6), dealer shows 10: hit by default; standing "hoping for a bust" gives up too much long-run value. If late surrender is available, surrender is often the cleaner play.
- You have 12 (10+2), dealer shows 2: hit; standing here is a common error because 12 "feels" like a stand hand, but the dealer's 2 is not weak enough.
Soft totals: conserving doubles and exploiting dealer weakness
You'll need: (1) confirmation of key table rules (dealer hits/stands on soft 17, double rules, surrender availability), (2) a blackjack basic strategy card or phone photo of the correct chart for that ruleset (no need to use it at the table if it's not allowed-memorize beforehand), and (3) the discipline to treat soft hands as doubling opportunities, not "safe stands."
Core soft-hand patterns to memorize
- Soft 13-16 (A,2 to A,5): double against dealer 4-6; otherwise hit.
- Soft 17 (A,6): double against dealer 3-6; otherwise hit.
- Soft 18 (A,7): stand vs 2,7,8; double vs 3-6; hit vs 9-A.
- Soft 19+ (A,8+): mostly stand; doubling can appear in some charts vs 6 depending on rules.
Two fast examples (soft totals)
- You have A,6 (soft 17), dealer shows 4: double. The hand can't bust on one card, and you're pressing when the dealer is most likely to be constrained.
- You have A,7 (soft 18), dealer shows 9: hit. Standing is a frequent leak; you need improvement against a strong upcard.
Pair splits: which pairs to always, sometimes, or never split

The goal is to turn one mediocre hand into two better-positioned hands when the rules and dealer upcard make it worthwhile. If you're unsure, default to the split guidance below rather than "playing it like a hard total."
Compact split guidance (the non-negotiables and the traps)
- Always split: A,A and 8,8.
- Never split (default): 10,10 and 5,5 (treat 5,5 as a doubling hand).
- Often split depending on upcard/rules: 2,2; 3,3; 4,4; 6,6; 7,7; 9,9.
Step-by-step: splitting correctly in live play
-
Confirm split permissions before you play.
Ask or read the felt: re-splitting limits, whether you can double after split (DAS), and any restrictions on splitting Aces. These rules change the value of several "sometimes split" pairs.
-
Classify your pair into always / never / conditional.
Lock in the easy ones first: A,A and 8,8 are automatic; 10,10 and 5,5 are default no-splits. This prevents the most expensive emotional mistakes.
-
Use the dealer upcard to decide conditional splits.
Conditional pairs mostly target dealer 2-6 (weak) and avoid 7-A (strong). If you can't recall the exact window, don't guess-use the compact chart below to align with a proper blackjack strategy chart.
-
Apply the correct action and then play each new hand normally.
After you split, each hand follows standard blackjack basic strategy decisions (hit/stand/double) for that new total. Don't keep "pair logic" after the split.
- If DAS is allowed, more split-hands become profitable to double when they land on 9-11.
- If splitting Aces gives only one card each, treat it as a rule constraint and move on-don't try to "outplay" it.
-
Stay bankroll-consistent across the two hands.
Splitting increases total money at risk this round. If you're near your stop-loss, consider avoiding marginal conditional splits that your chart marks as close or rule-sensitive.
Quick mode: 20-second split algorithm
- Always split A,A and 8,8; never split 10,10 and 5,5.
- If dealer shows 2-6, look to split many small pairs (2s/3s/6s/7s/9s) per the chart.
- If dealer shows 7-A, avoid most conditional splits; play the resulting hard/soft total instead.
- If DAS is allowed, your conditional splits (and follow-up doubles) become more valuable-stick closer to the chart.
Two fast examples (pairs)
- You have 8,8 vs dealer 9: split. Standing on 16 is a trap; splitting gives two shots at building competitive totals.
- You have 5,5 vs dealer 6: do not split; treat as hard 10 and double (a classic "pair mistake" spot).
Compact decision tables (use as a memorization scaffold)
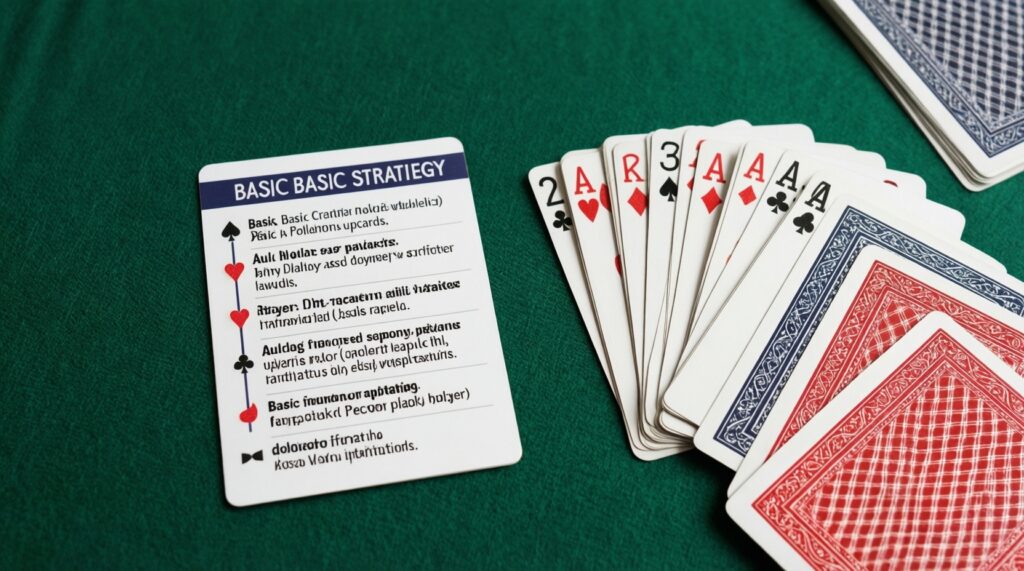
Use this as a compact scaffold, then align it with a full blackjack basic strategy card for your exact rules (decks, H17/S17, DAS, surrender). This is not a complete matrix; it highlights the highest-impact rows players routinely misplay.
| Player hand | Dealer 2-6 | Dealer 7-A | Notes / common mistake |
|---|---|---|---|
| Hard 13-16 | Stand | Hit | Players stand too much vs 7-A. |
| Hard 12 | Stand vs 4-6; hit vs 2-3 | Hit | "12 always stands" is wrong. |
| Hard 11 | Double | Double (chart may vary vs A) | Confirm rule variant vs Ace in your chart. |
| Soft 17 (A,6) | Double vs 3-6; otherwise hit | Hit | Standing wastes dealer-weakness leverage. |
| Soft 18 (A,7) | Double vs 3-6; stand vs 2 | Hit vs 9-A; stand vs 7-8 | Most misplay vs 9 by standing. |
| Pair 8,8 | Split | Split | Never "just stand on 16." |
| Pair A,A | Split | Split | Don't treat as soft 12; splitting is mandatory. |
| Pair 5,5 | Do not split; double vs favorable upcards | Do not split; usually hit/stand by total | Splitting kills your best doubling hand. |
| Pair 10,10 | Stand | Stand | Splitting is a high-risk deviation; avoid. |
Doubling strategy: optimal spots and bankroll-conscious sizing
Doubling is where correct play feels "aggressive" but is actually controlled value extraction. Keep the sizing simple: when you double, you're taking the one-card draw because the situation is favorable, not because you want to gamble bigger.
Result check: your doubling decisions are on-track if...
- You double hard 11 versus most dealer upcards (and you've checked your chart's rule-specific exception vs Ace).
- You double hard 10 versus dealer 2-9 and avoid doubling into 10/A by habit.
- You double hard 9 primarily versus dealer 3-6 (and don't "force" it versus strong upcards).
- You actively look to double soft 13-18 in their proper windows instead of default-hitting everything soft.
- You do not change your base bet size just because you "feel due"; doubles are decision-based, not emotion-based.
- You understand that splitting can create follow-up doubles (especially if DAS is allowed) and you're ready to take them.
- You stop trying to "save money" by refusing correct doubles; that usually costs more long-run than it saves short-run.
Two fast examples (doubling)
- You have 9 vs dealer 3: double (common miss: players just hit because it "doesn't feel like enough").
- You have A,3 (soft 14) vs dealer 5: double; you're pressing against a weak upcard with a non-busting one-card draw.
Surrender and late-surrender: when folding is the correct play
If the table offers surrender, treat it as a tool to cut losses in the worst matchups. In Thailand, many casino floors cater to tourists; surrender may or may not be offered, and dealers will typically clarify if you ask before the shoe starts.
Frequent surrender mistakes to avoid
- Not checking whether surrender exists (and whether it's late surrender) before relying on it.
- Surrendering hands that should be played normally (using surrender as a panic button).
- Refusing to surrender "because I might win this one," especially on classic high-loss matchups.
- Assuming surrender rules are identical across tables; they vary by property and ruleset.
- Trying to surrender after taking a hit (late surrender decisions must be immediate, before other actions).
- Confusing surrender with insurance; they solve different problems.
- Letting the previous hand affect surrender choices (tilt-driven decisions).
Two fast examples (surrender)
- You have 16 vs dealer 10: if late surrender is available, surrender is often correct; otherwise hit by default basic strategy.
- You have 15 vs dealer 10: late surrender is frequently the disciplined choice; without surrender, follow your chart (often hit).
Common player errors and principled deviations for live play
These are alternatives only when they're appropriate; none of them are excuses to abandon a solid baseline. If you want the best blackjack strategy for your table, lock in correct baseline play first, then consider limited, rule-aware adjustments.
Alternative 1: Use the correct chart for the exact rules (not a generic one)
A single-deck, double-deck, and multi-deck game can differ on a few key borders, and H17 vs S17 can shift some doubles. Bring the right reference during study so your memorization matches the table.
Alternative 2: Memorize by "decision families," not full grids
Group hands into families (stiff hard totals, soft doubles, mandatory splits) and you'll make fewer errors under speed. This is especially helpful in busy live games with fast dealing.
Alternative 3: Deviation discipline-deviate only with a clear trigger
If you ever explore deviations (for example, count-based play), require a specific, learned trigger; otherwise, treat every deviation as a mistake. For most players, baseline blackjack odds and strategy improvements come from eliminating execution errors, not inventing new plays mid-shoe.
Practical troubleshooting and clarifications
Which blackjack basic strategy should I follow if I don't know the rules?
Don't guess-ask the dealer or read the table placard for decks, H17/S17, DAS, and surrender. Then use a chart that matches those rules.
Is a blackjack strategy chart the same as a basic strategy card?
Functionally yes: both are decision guides for hit/stand/double/split (and surrender when offered). A "card" is just a portable format of the chart.
What are the top three moves most players still get wrong?
Misplaying hard 12-16 versus strong upcards, failing to double soft hands in the right windows, and refusing mandatory splits like 8,8 or A,A.
Do I ever split 10s if I want the best blackjack strategy?
As a default, no-standing on 20 is already extremely strong. Splitting 10s is a rare, high-precision deviation and not a baseline play.
How does dealer hitting soft 17 (H17) change my decisions?
It typically makes some doubles (especially involving soft totals) slightly more valuable or changes a few edges. Use a chart specifically labeled for H17 rather than trying to "adjust by feel."
If surrender isn't offered, what should I do in the classic bad spots?
Follow baseline basic strategy: usually hit stiff totals versus strong upcards. Don't replace surrender with random conservative stands.